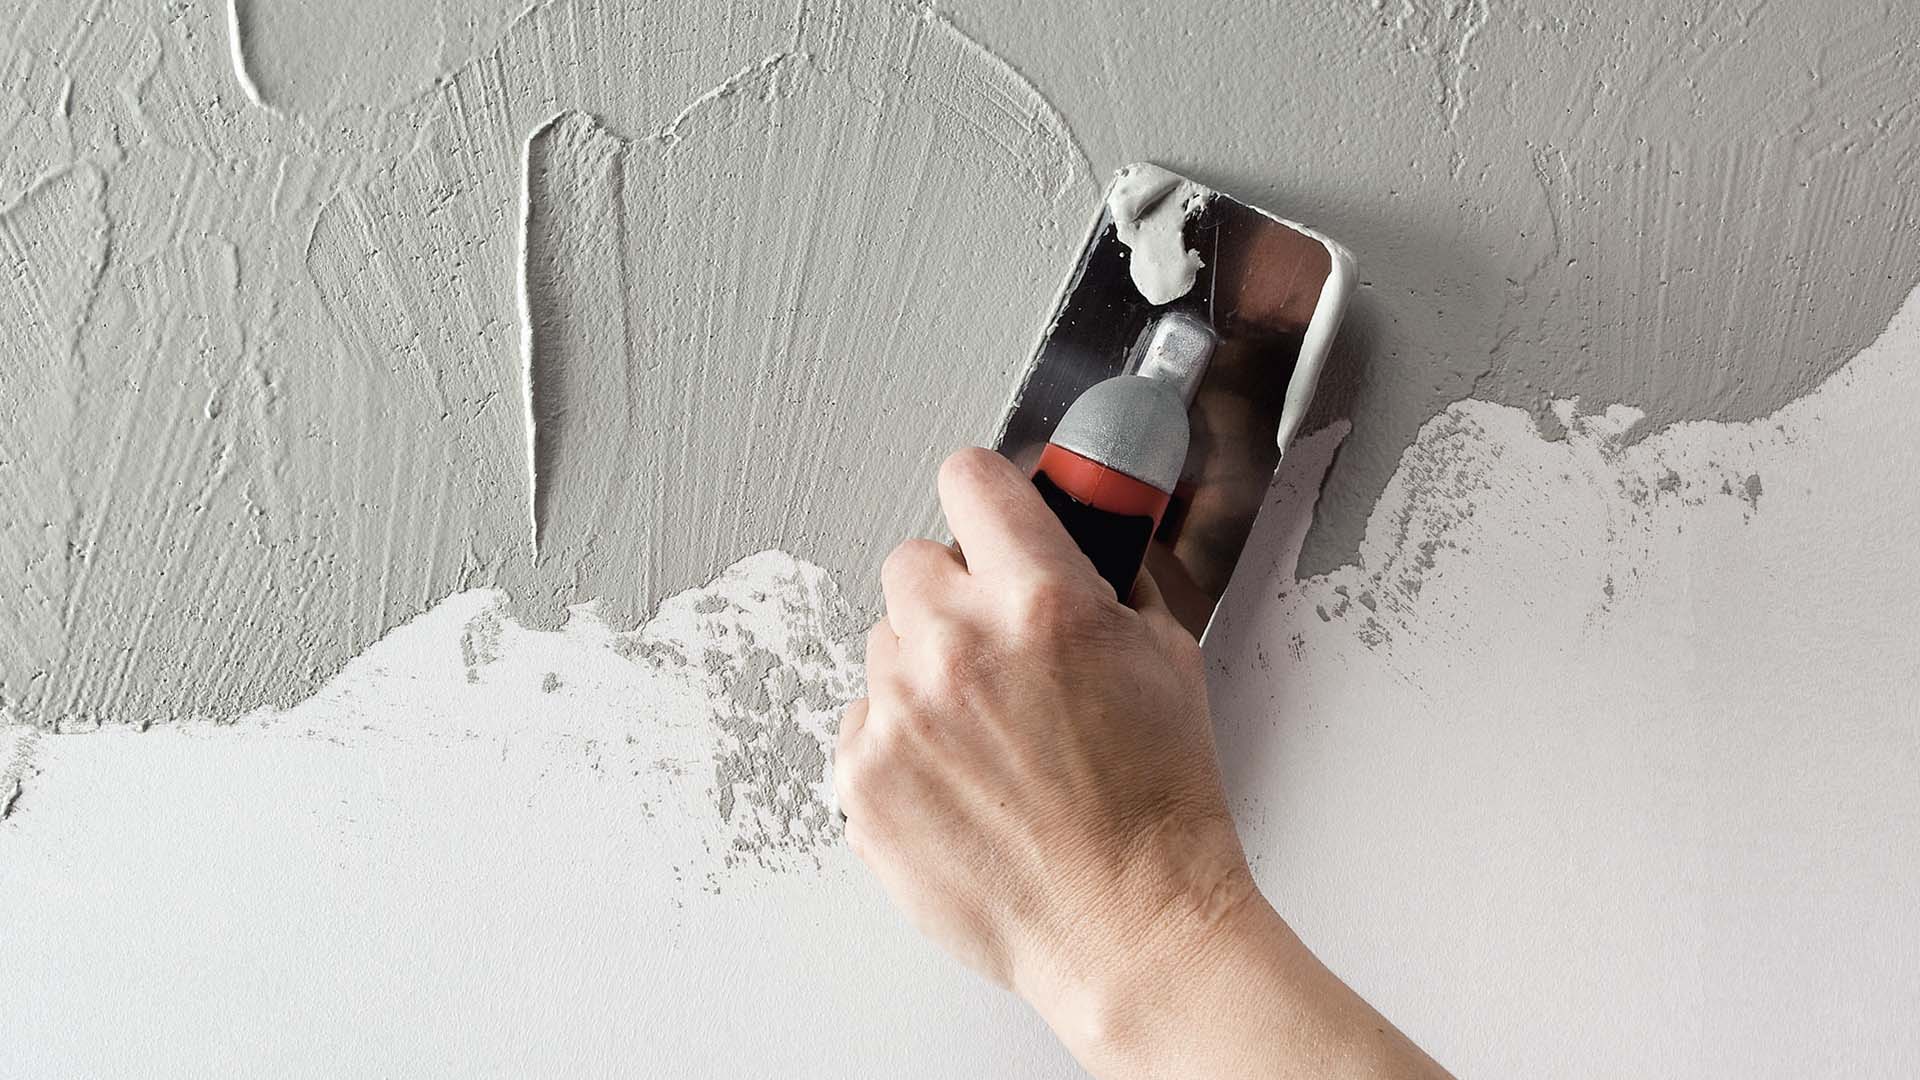
Plastering ( Cement Plaster) is an important factor to repair and improve the quality of our building’s walls.
1. Plan and Control the Pull
Control the Attractions – if the wall is too dry the dampness will be drained out of the plaster you apply and it will turn out to be too firm to even consider working appropriately. This applies to both the support coat and the skim coat.
2. Utilizing a Sand-based sponsorship coat.
Sand and cement (with plasticizer) can give many benefits for the amateur:
allows you the entire day to work with it – it sets for the time being so no time pressure.
is simpler to coast – so if the decision off with the straight edge leaves openings or leaves the surface lopsided – the buoy will deal with it.
3. Apply Two Coats
An exceptionally meager first coat – just to guarantee it sticks and is appropriately driven into the wall with heaps of pressing factors.
This guarantees it won’t tumble off later, and permits the second coat to be applied – with barely enough strain to guarantee you apply the right thickness and to keep it sensibly level. (In case you’re pushing hard to get the plaster to adhere to the wall – it is hard to focus on these viewpoints).
Ensure the first dainty coat is as yet wet and malleable when you do have any significant bearing on the second coat, and you might be amazed at exactly how little pressing factor you need. Simply first coat somewhat in front of the second coat, or truly ensure the pull is controlled so it doesn’t dry excessively fast.
A second coat can be applied as thick as need be – with less pressing factor, yet barely enough to keep it level.
4. Keep it Level
Continuously ensure you are focusing on evenness – not perfection! There is an inclination with us every one of us messes with the sponsorship coat streamlining it – yet it truly doesn’t make any difference how smooth it will be; it simply should be level as the skim coat will do the work of smoothing better. on the off chance that the sponsorship coat isn’t level – it will be exceptionally difficult to get a smooth completion.
On the off chance that you don’t do anything else ensure all corners are absolutely level and the entire wall will look great.
Inner corners the right and left corner ought to be level when a straight edge is held up upward The top and base ought to be level when a straight edge is held evenly
Outer corners guarantee all point globules are straight and line up with encompassing walls or casings.
5. Scale back
Truly easy to do and gives a speedy check of everything. Just run a level scoop over a wall that has solidified by the day’s end or before the completion coat. (never do this when plaster is delicate). Guarantee the side of your scoop runs right to all edges and trims off any little lumps of plaster squarely into the corner by marginally cutting into the neighboring Wall Plaster or roof with the edge of your scoop.
6. The Right Scoop
If the scoop isn’t excellent, neither will the completion be.
7. Make it slim
Try not to blend the completion plaster too thick else it will be undeniably challenging to keep it level and your arm will long attempting to spread it out. It ought to be slight enough so it tops and resembles a thick yogurt. It will then, at that point spread with less work to give a level coat close to 2mm thick.
8. Scoop Point
One of the main plastering tips .
10 mm on the main edge will smooth – when joined with a firm pressing factor. Expanding this point above 10 mm from the wall, and the scoop will begin to scratch the plaster away.
Bad if you simply need to fill a couple of openings as you will hazard scratching the plaster to the most reduced level and hazard the support coat appearing on the other side.
Just great if you have any lumps or thicker regions that require smoothing.
9. Push Hard!
Firm tension on the scoop to guarantee the plaster is level without any lumps. Heaps of pressing factors joined with the right point of your scoop. This will push the plaster across the entire length of your scoop and thusly be constrained into any openings.
10. Levelness, Openings then, at that point Scoop Imprints
Recall this request and all should work out. Evenness to consistently guarantee your scoop is sitting level on the wall than before it solidifies a lot of getting the openings filled by applying firm pressing factor or getting more plaster in the opening and streamlining. Then, at that point when the plaster is very firm, any scoop stamps and edges will be effectively streamlined – giving you have kept it level permitting your scoop to sit level on the wall.