Homes that still have plaster walls in pinnacle condition are regularly valued through manner of manner of proprietors and home buyers alike. Not best are they beautiful and sturdy but they’re especially correct at soundproofing rooms. But wall plaster respond to the inevitable foundation of shifts , climatic changes and can begin to crack. All day life, with its bumps and bangs, moreover takes its toll on plaster walls. And positive key areas, which incorporates above and beside doorways and windows, are conventional areas of cracking. Nearly all homes with plaster walls will in the long run growth window and door cracks.
Though they’ll look scary, your cracked Gypsum Plaster walls aren’t beyond repair. You do now not even need a completely unique plaster repair kit. One way to fast repair the cracked plaster walls consists of easy drywall system ,materials that you may buy at any home improvement store
Plaster vs. Drywall Repairs
Understanding how plaster walls are constructed will help you repair your cracked plaster wall. The method is awesome for plaster than for drywall. If you’ve were given were given ever repaired drywall, you may understand that it’s a long way regularly much less tough to replace whole portions with new quantities of drywall—it’s miles possible to remove truely the segment that desires fixing and a few inches beyond, without the whole wall collapsing. Because drywall is one layer with out a backing, as quickly as you cut through drywall, there can be now no longer something withinside the lower back of it except for studs and insulation.
Plaster walls, through manner of manner of contrast constructed of layers: the outer plaster and the inner wood or metallic lath. With plaster, your pleasant wager is to preserve the existing plaster and to repair it, as hostile to ripping it out. Ripping out chunks of plaster regularly turns into a apparently endless method, with one chunk essential to a few different chunk. Successful plaster crack repair wants taking it gradual and being affected character enough to function more layers of drywall joint compound to the wall
Score the Crack
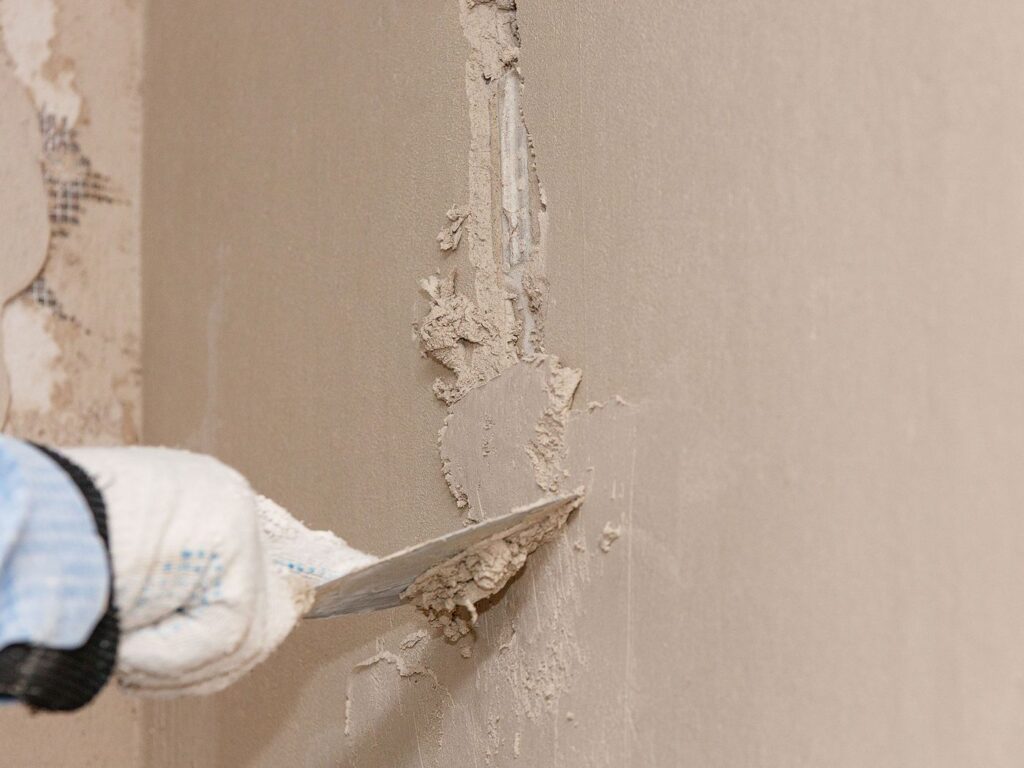
Use a software program knife or painter’s 5-in-1 tool to lessen along the edges of the crack, setting out the crack slightly and casting off unfastened material. While beginning the crack may seem counterintuitive, we want to increase the place for the joint compound to stick. Do now not vigorously scrape into the crack; be moderate and byskip gradual. Use a shop vacuum to clear all crumbs and dust from the crack.
Cut the Paper Drywall Tape
Measure and decrease one or greater lengths of paper drywall tape to in form the crack. Drywall compound begins offevolved to dry rapid, so reducing the tape in advance makes this art work byskip faster and prevents with the aid of using coincidence developing creases, folds, or bumps. Use scissors or a software program knife to lessen the tape, as tearing the tape through manner of manner of hand will produce a ragged edge.
Spread the Joint Compound
Mix the drywall joint compound, as needed. Scoop up a small detail with a 6-inch drywall knife, and smooth a thin layer of joint compound over the crack, developing a course it’s a chunk wider than the paper tape. Move at once to the subsequent step, as joint compound dries rapidly
Apply Tape to the Crack
Lay the tape onto the dirt through manner of manner of hand, then smooth it with the 6-inch knife with one or passes. The reason is to flatten the tape and make certain whole contact with the compound, with out a wrinkles or air pockets. Be careful now not to overwork the tape and tear it. Let the joint compound dry completely.
Mud Over the Tape
Add one layer of joint compound over the taped place just the compound extends past the tape’s edges, using the 6-inch knife. Smooth the compound so it’s a long way flush with the surrounding surfaces. Let the joint compound dry completely.
Sand the Repair
Lightly sand the compound with a 150-grit sanding sponge or sandpaper to smooth first-rate bumps or ridges. Do now not sand so tough that you monitor the tape.
Apply an Additional Mud Coat
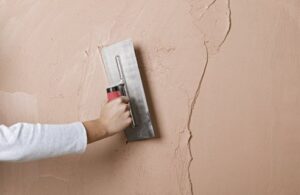
Add a third layer of joint compound, this time using the 12-inch knife, to growth the edges even farther. This is an optionally to be had step that lets in mixture the repair into a totally smooth Spray Plaster Walls ground. If the ground has some texture, it’s miles generally better to take the opposite technique and reduce the width of the repair, for the reason that it’s miles tough to texture the state-of-the-art compound. An greater coat have to take the joint compound out as some distance as 12 inches. Allow the joint compound to dry completely, then sand lightly to smooth out the repair place. Again, take care now not to sand down into the paper tape—a totally moderate sanding is all that is required.