We understand a fair bit regarding various plastic products and their uses and properties. Of all the plastics we deal with daily, acrylic (also known as. Perspex, Plexiglas and PMMA) is one of our much-loved materials as it is merely so easy to use.
That’s why we believe acrylic is the perfect DIY product for a range of house projects. It’s lightweight, affordable, and unbreakable. In this blog, we’re most likely to discuss the 5 primary methods you can cut acrylic sheets/panels to any dimension or shape for your DIY projects. Towards completion, we additionally explain the best methods to ensure you get a good coating on your plastic.
If DIY isn’t your thing, or you’re searching for a more complex and intricate shape/design cut from acrylic, then get in touch with our group today! We cut acrylic – and a range of other plastics, including PVC and polycarbonate – to any size or shape. A new technique that has emerged on the market is acrylic laser cutting. Pleasant Plastic is an Acrylic fabricator in Dubai, uses this technique to cut sheets of acrylic into various shapes.
It is a cost-effective and quick manufacturing process that offers a smooth finish to the product.
This article will discuss 5 different ways to cut acrylic sheets
Hand Saw
Using a hand attended reduce your acrylic material is perhaps the most universal option – and it is a relatively reduced ability. This method does, nevertheless, require even more concentration and effort than using an electric saw, such as a jigsaw or band saw.
Tools:
-
- Ruler and marker pen
- Fine-tooth hand saw (helps you to avoid jagged edges)
- Clamp (optional)
- Solid, flat cutting surface
The Procedure:
- Begin by producing a guide for yourself straight on the plastic’s surface area with a marker pen. Straight lines will certainly be the easiest to cut cleanly.
- Clamp your acrylic into place (or consider it down on one end to help secure the material).
- Finally, start cutting. Make sure you are not using a wood viewed as this can damage the product – we recommend a fine-tooth hacksaw or similar device. Try to keep the acrylic as still as possible to prevent deforming your reducing course.
Score and Break
Rating and damaging your acrylic is a relatively fast and hassle-free way to reduce plastic to the preferred dimension. Note: This technique should only be used on acrylic under 5mm.
Tools:
- Scoring knife
- Ruler/straight edge and marker pen
- Clamp (optional)
- Solid, flat cutting surface
The Procedure:
- Equally as above, you want to start by defining the location you wish to reduce and after that protecting the acrylic sheet right into position on your cutting surface.
- Next off, utilizing your leader as an overview, run the scoring knife along the surface area of the plastic a few times to produce a narrow groove.
- Area the edge you want to get rid of over the edge of your level surface and, with a fast activity, push down on the looming side (or waste plastic). The plastic will begin to end and after that crack, leaving you with 2 sheets of acrylic.
Jigsaw
Using a jigsaw has the advantage of efficiency over our 2 previous alternatives. It is quicker to deal with and thus needs much less concentration. With an electrical saw, you can also create even more intricate cuts as it’s easier to manipulate your tool.
Tools:
- Ruler/straight edge and marker pen
- Jigsaw with a fine-tooth blade
- Flat work surface
- Safety glasses
- Clamp (optional)
The Procedure:
- Once more, start by creating an overview externally of the acrylic. You can cut a straight side with a jigsaw, or go with an even more freehand contour if you want to create a round item of plastic.
- Secure right into the place and put on your security goggles in case any plastic fragments are displaced throughout the reducing process. Clamping is extremely essential when utilizing a jigsaw as it avoids the plastic from vibrating and walking around.
- Saw through the plastic. When using electrical saws, it is best to function promptly as they develop extra warmth that could bend/warp the acrylic plastic.
Bandsaw
Band saws are typically quite large pieces of machinery that you will only find in workshops and on factory floors. For instance, we use some form of the bandsaw to prepare and cut all our acrylic sheets here in The Plastic People factory!
Tools:
- Safety goggles
- Marker pen
- Bandsaw
The Procedure:
- Begin by noting your plastic. Some modern band saws come with guides built into the equipment, so you might be able to avoid this step.
- With your safety goggles on, turn on the bandsaw and begin passing the plastic with the blade. There is a variety of different blade sizes for band saws – and the one you pick depends upon the plastic density and preferred form. Do your research study or inspect the producer’s overview prior to beginning.
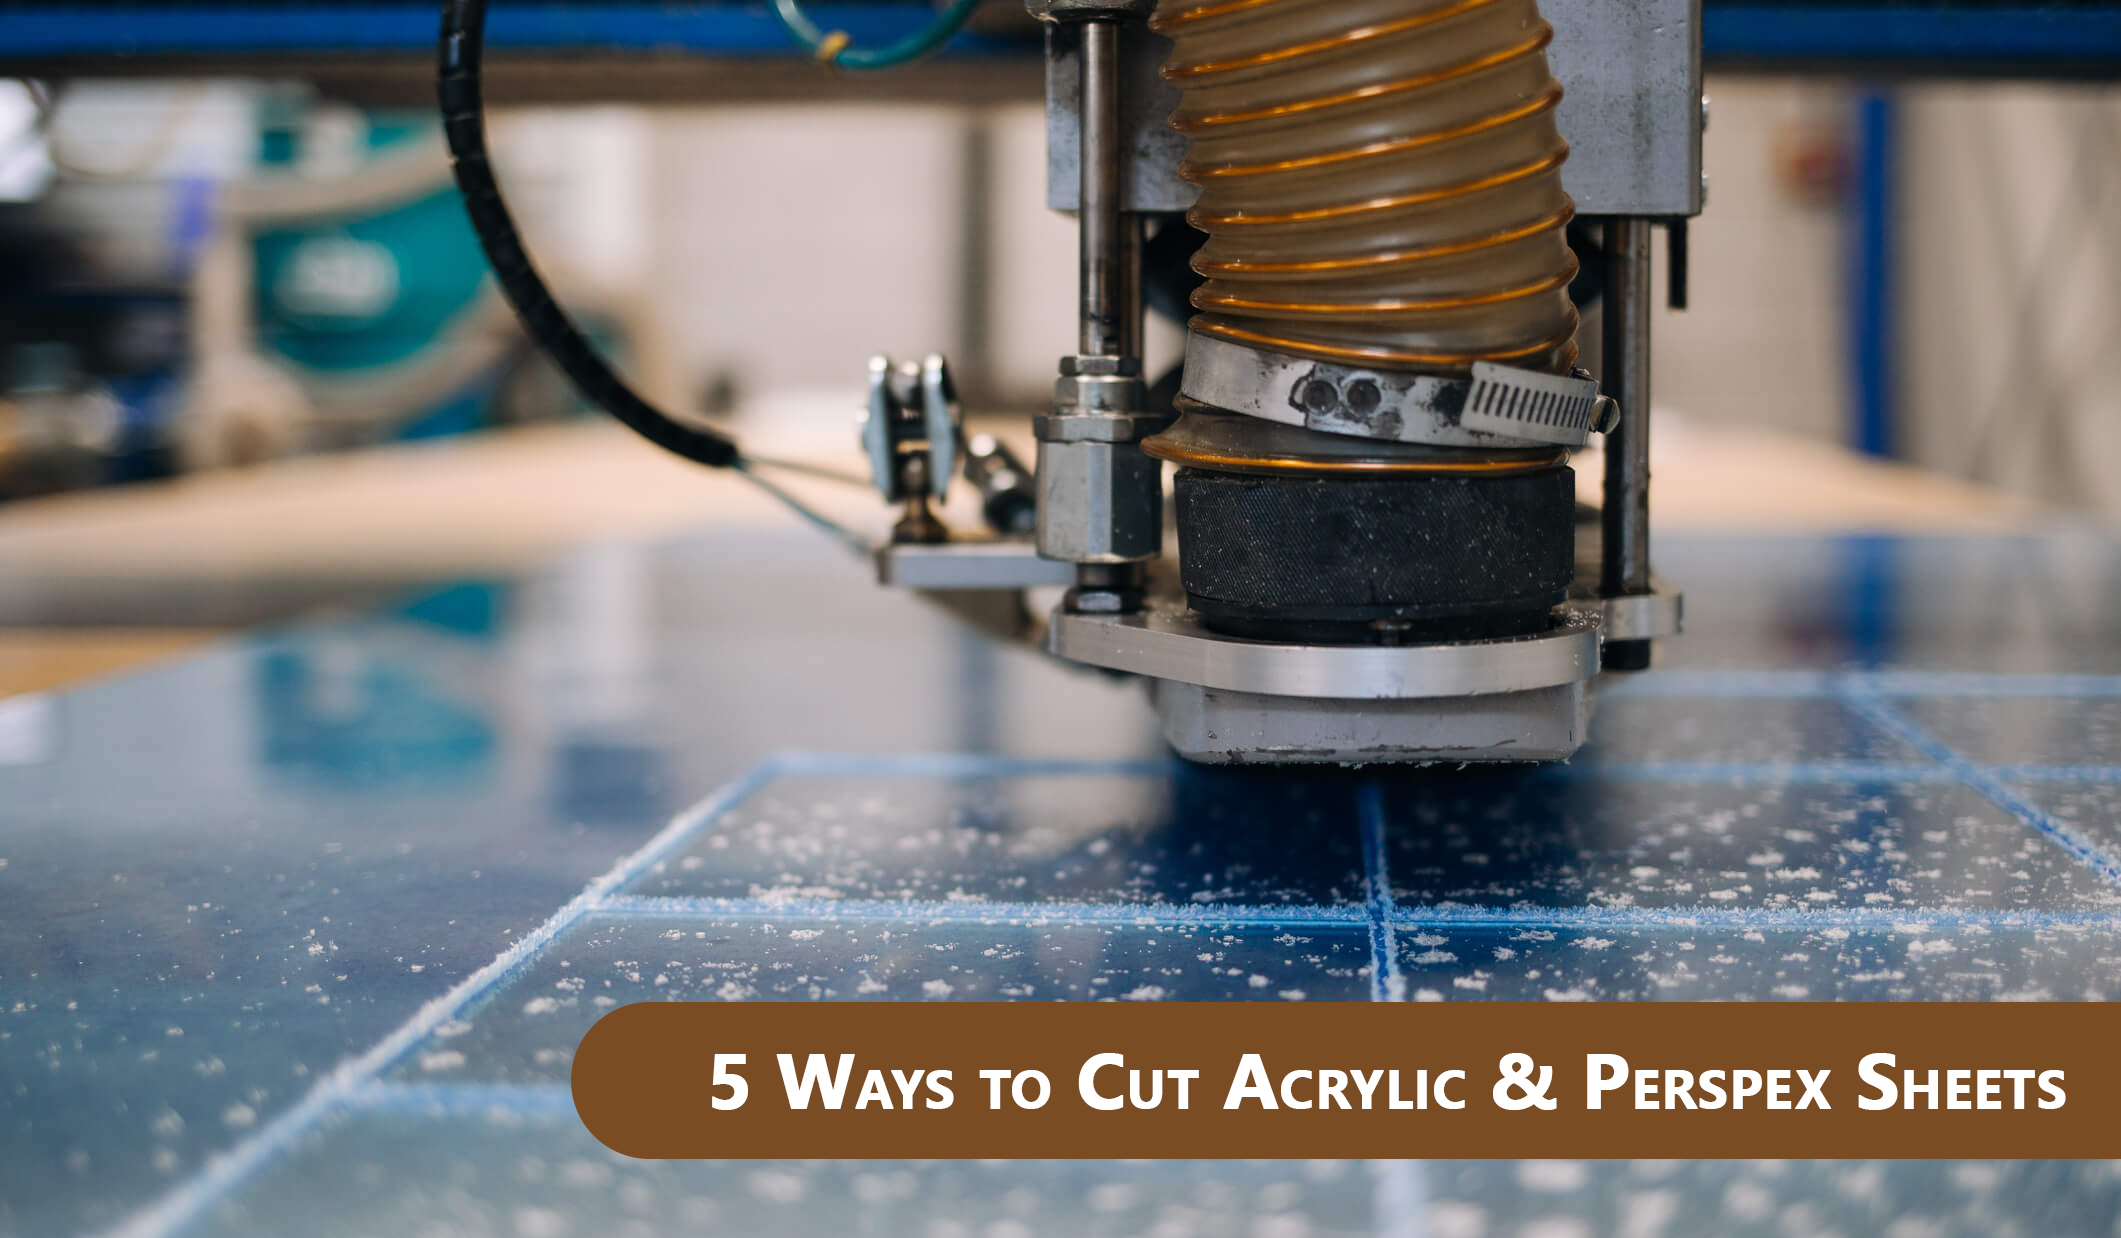
Laser Cutting
This last method for cutting plastic is reserved primarily for intricate forms and complicated styles that require to be machined precisely. Laser cutters use a CAD program where the dimensions/design is participated in by a computer system that runs the laser cutter or CNC router.
At The Plastic Individuals, we make use of laser cutters as well as CNC routing/milling machines to create complex components, elements and items – to extremely tight tolerances – for a wide range of different businesses and industries.
Finishing
When you have cut your acrylic sheet or panel to the preferred size/shape, you may notice a harsh or rugged side. The surface of the acrylic might also have actually become dirty, scratched or filthy.
To sand rough edges, you can use sandpaper (usually 600-1000 grit), a steel data or an electrical sander/buffing device. Begin by submitting down harsh edges, prior to sanding the acrylic. Every couple of mins, you ought to clean down the edge as well to remove any particles.
We have generated a range of blog sites about cleaning acrylic and removing scratches from the surface of your plastic.