A studio fotograficzne, or photographic studio in English, is a specialized space designed for the purpose of taking high-quality photographs. These studios are equipped with professional lighting, backdrops, and other photographic equipment that allow photographers to capture stunning images in a controlled environment. In this article, we will explore how to use a studio fotograficzne, from setting up the space to taking the perfect shot.
Choose the Right Studio
The first step in using a studio fotograficzne is to choose the right one for your needs. There are many different types of studios available, from small DIY setups to large, commercial studios with multiple rooms and specialized equipment. When choosing a studio, consider your budget, the size of your project, and the type of equipment you will need.
Prepare Your Equipment
Before you begin shooting, make sure you have all the equipment you will need. This may include camera gear, lighting equipment, backdrops, props, and any other accessories that will help you achieve the desired look and feel for your photos. Make sure all your equipment is in good working order and fully charged or plugged in.
Set Up Your Studio
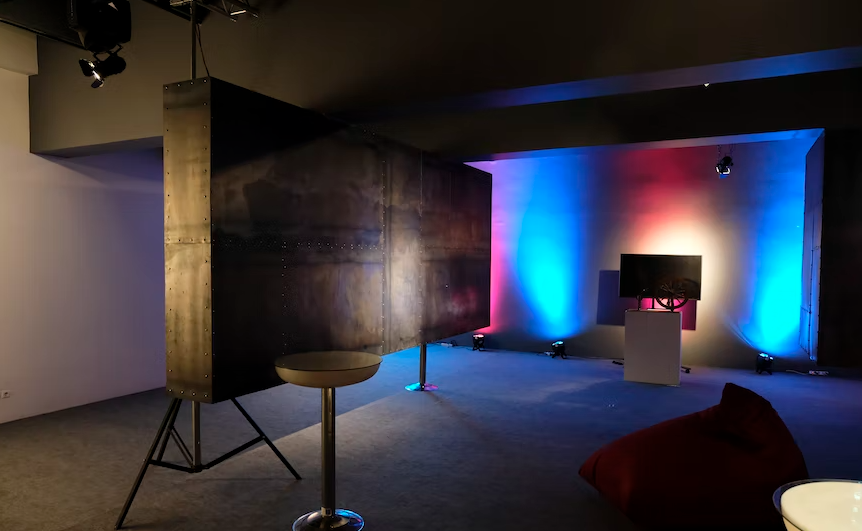
Once you have chosen your studio and gathered your equipment, it’s time to set up your space. Start by selecting your backdrop and hanging it securely on the backdrop stand. Position your lighting equipment and test it to ensure the lighting is even and flattering. Arrange any props or furniture you plan to use and make sure they are in the right position for your shots.
Choose Your Subject
Now that your studio is set up and ready to go, it’s time to choose your subject. This may be a person, a product, or an object you want to photograph. Consider the type of lighting and backdrop you will need to achieve the desired effect, and position your subject accordingly.
Adjust Your Camera Settings
Before you start shooting, adjust your camera settings to ensure you capture the best possible images. This may include adjusting the ISO, aperture, and shutter speed to suit the lighting conditions and the desired effect. Take test shots to ensure your settings are correct and make any necessary adjustments.
Take Your Shot
Now it’s time to start shooting. Work with your subject to get the best possible poses and expressions, and experiment with different lighting and camera settings to create different looks and moods. Take multiple shots from different angles and perspectives, and don’t be afraid to try something new.
Review Your Images
Once you have finished shooting, it’s time to review your images. Upload them to your computer or camera and review each one carefully. Delete any images that are blurry, poorly lit, or otherwise unusable, and choose the best images to edit and finalize.
Edit Your Images
After you have chosen your best images, it’s time to edit them. This may include adjusting the brightness, contrast, and saturation, removing blemishes or imperfections, and cropping or resizing the images as needed. Experiment with different editing techniques to create the desired look and feel for your photos.
Finalize Your Images
Once you have edited your images, it’s time to finalize them. Save them in the appropriate format for your needs, whether that is a high-resolution file for printing or a web-friendly format for online use. Make sure your images are correctly labeled and organized, and back them up to ensure you don’t lose your work.
Market Your Images
Finally, it’s time to market your images. Whether you are a professional photographer looking to sell your work or a hobbyist looking to share your images online, marketing is key to getting your images seen by the right audience. Share your images on social media, showcase them on your website, and consider submitting them to online galleries or publications to reach.